


Steps 1-2


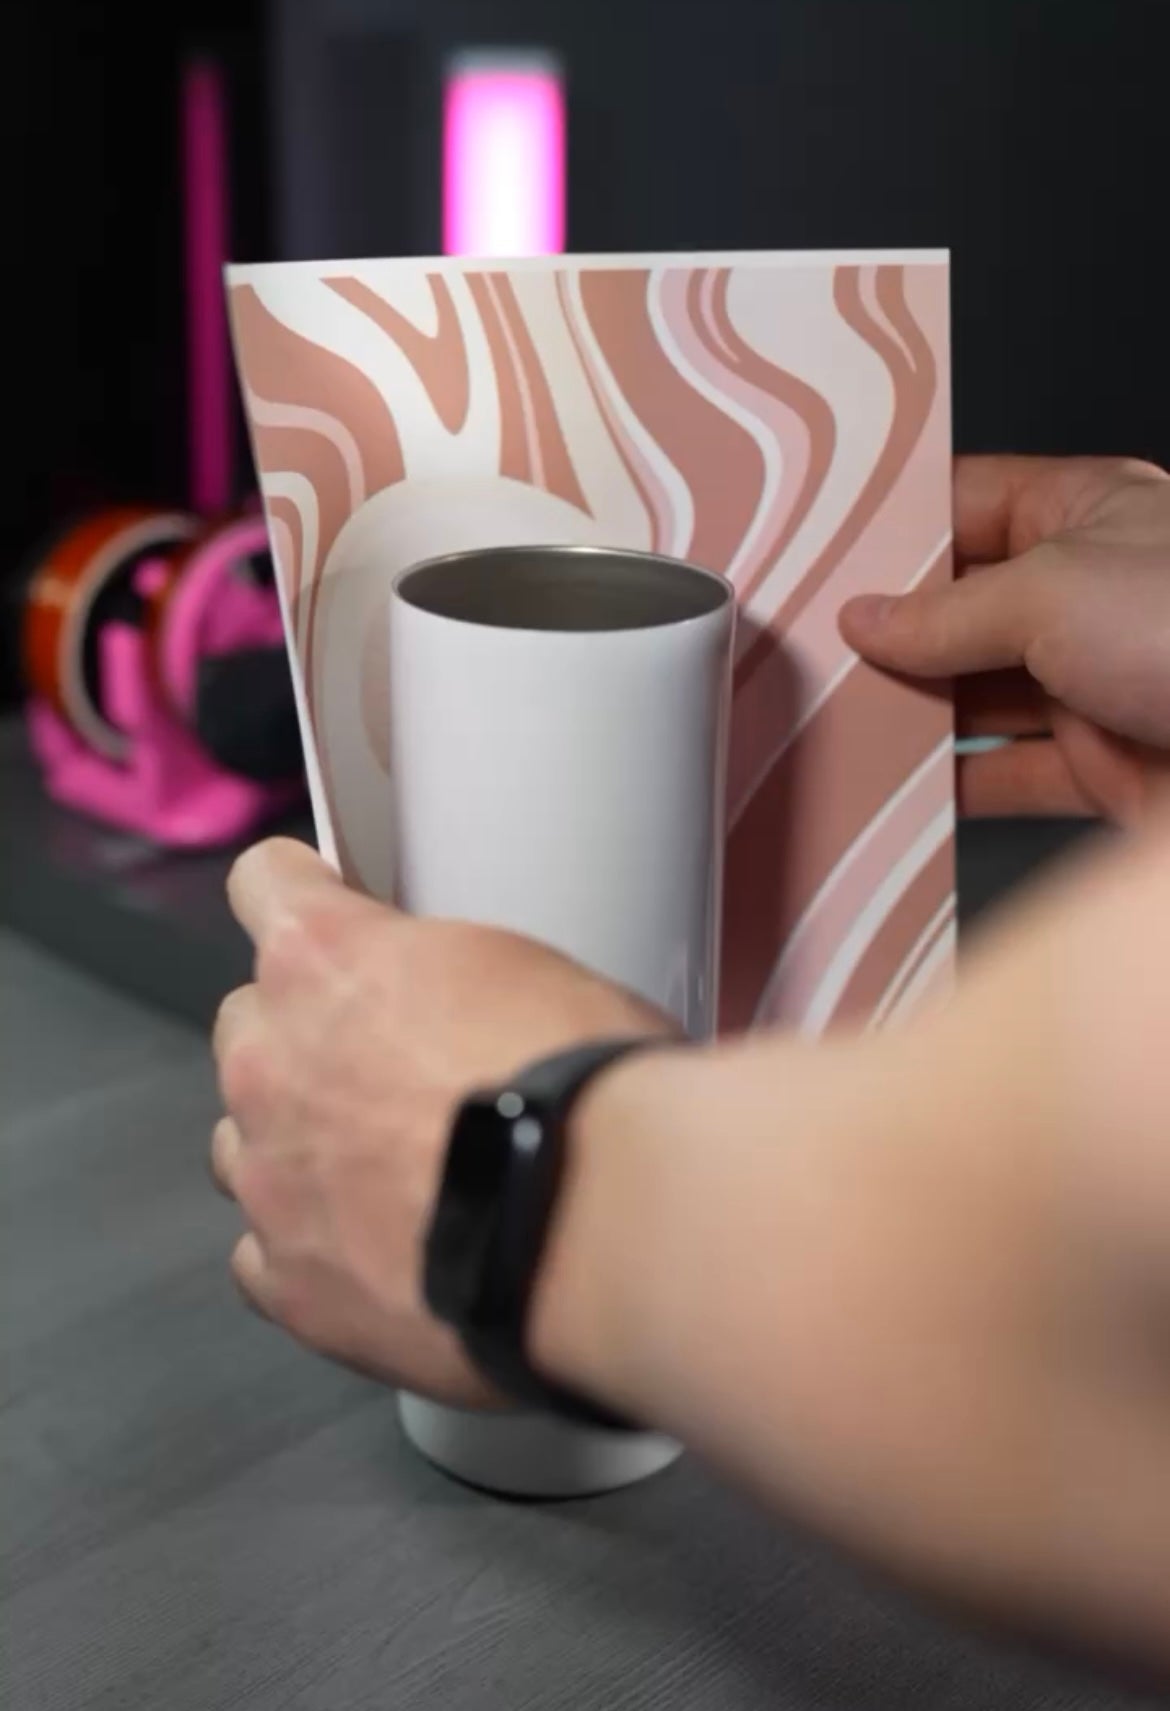

1. Start with a trimmed sublimation paper. Trim White Edging off of both sides and the bottom.
2. Place on the counter to line up the bottom of the image around the tumbler.
Steps 3-4


3. Make sure the design is trimmed with minimal overlap when wrapped around the tumbler. The overlap should be only about the thickness of a coin, 1/8 of an Inch.
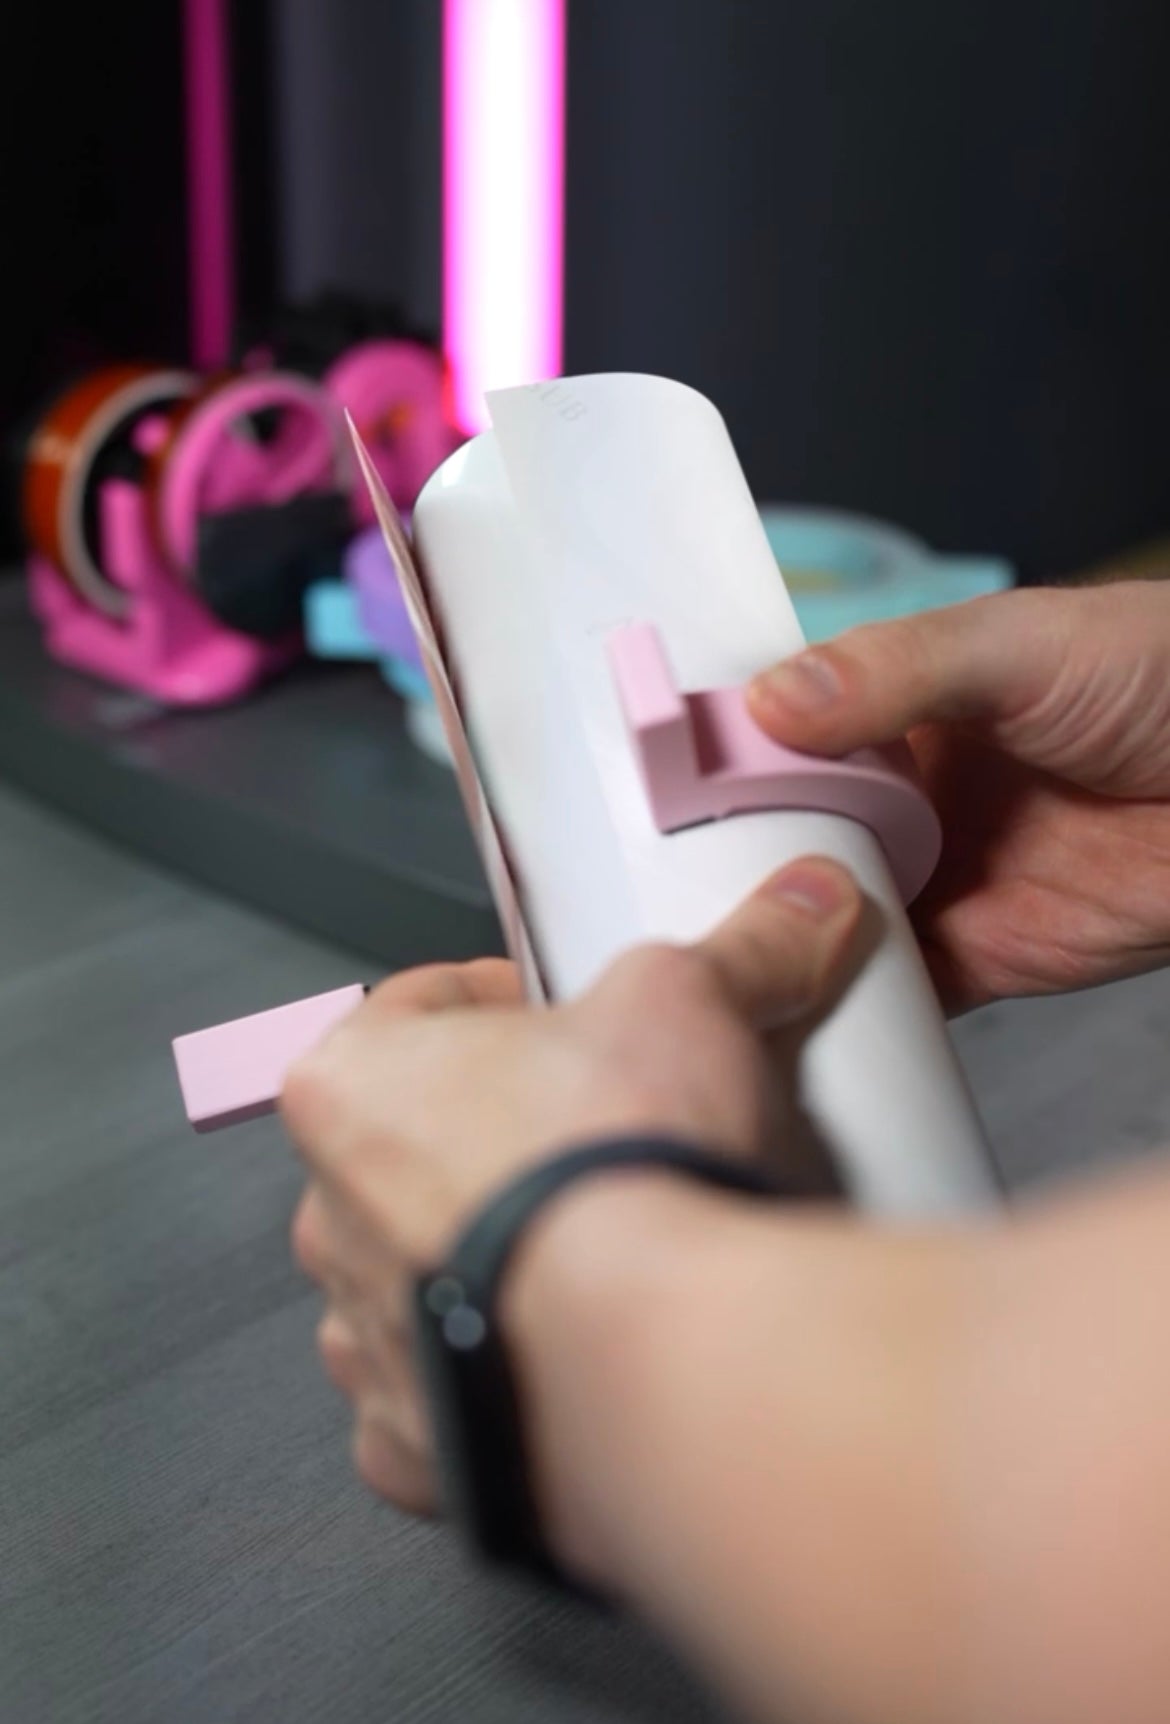
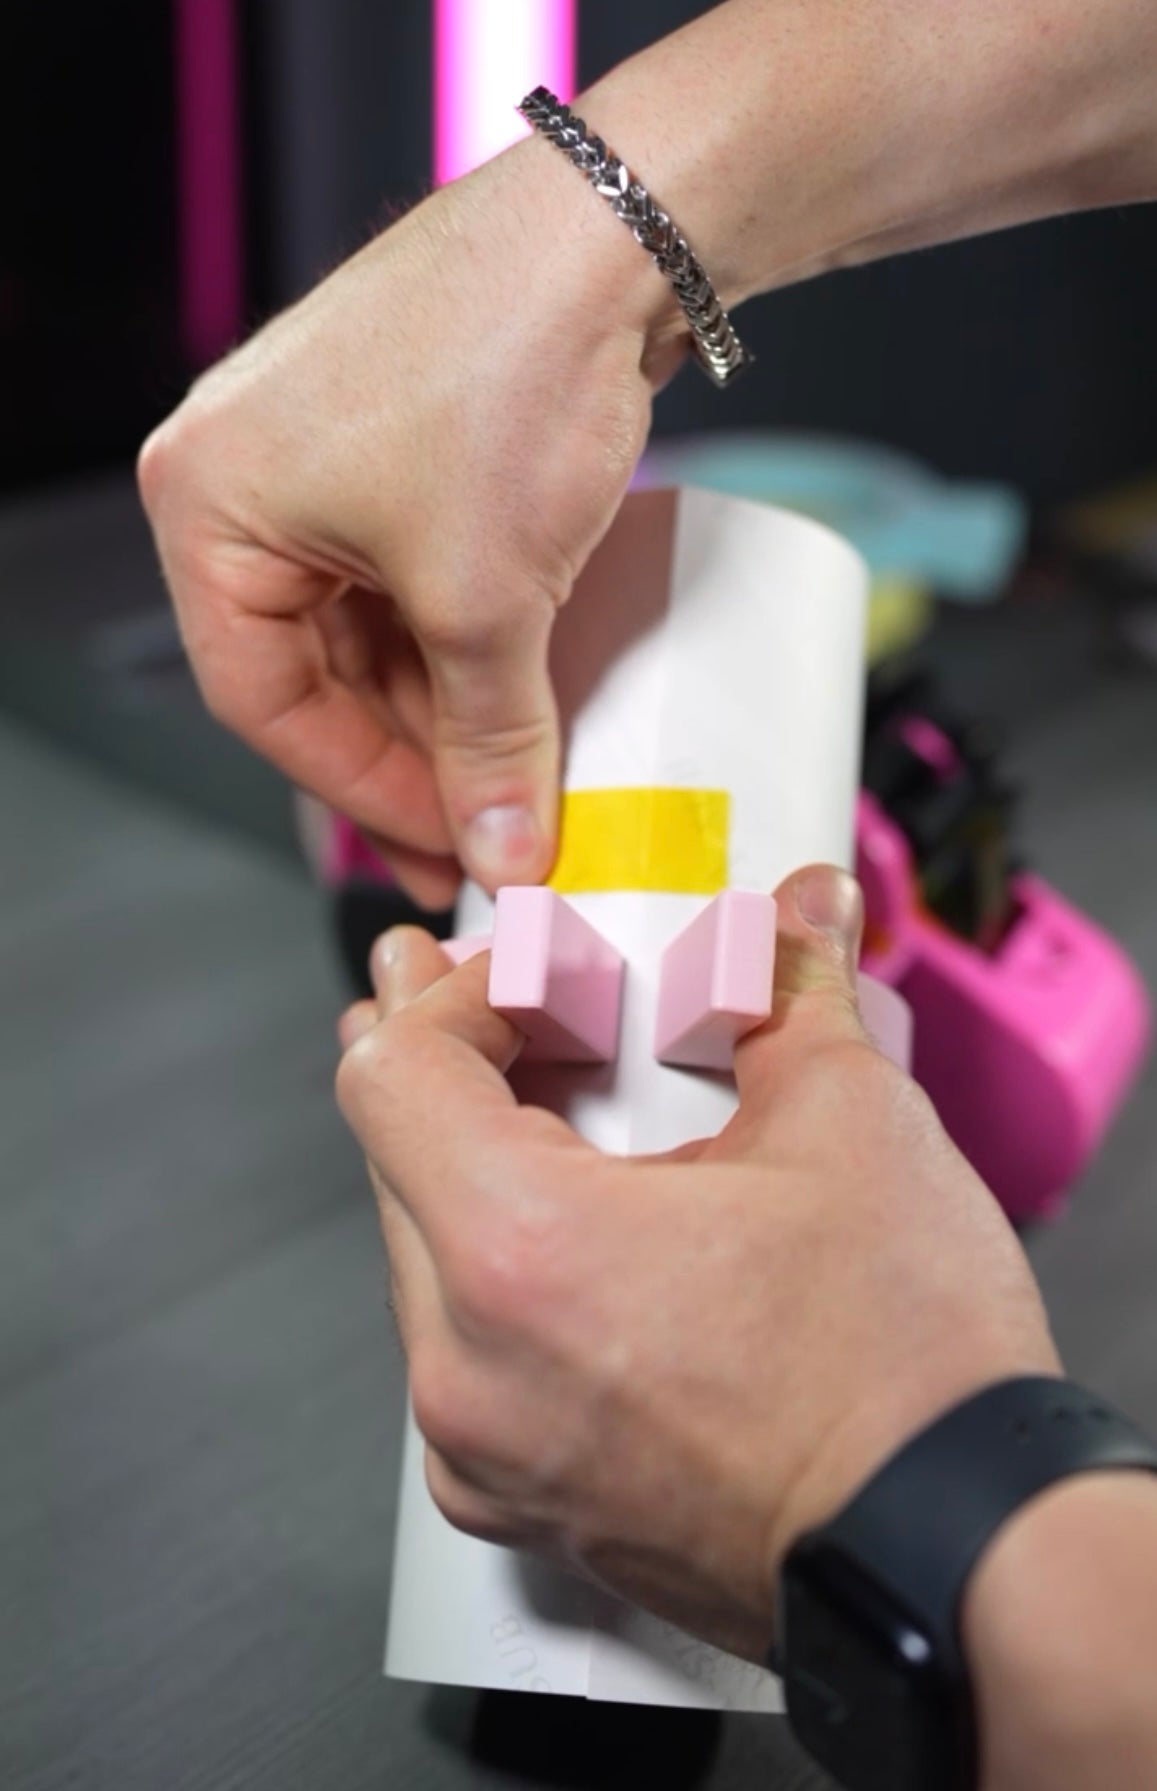
4. Apply Pinch Perfect with the gripping pad about 1/2 In. away from the cut edge that will be the underlap layer.
Steps 5-6
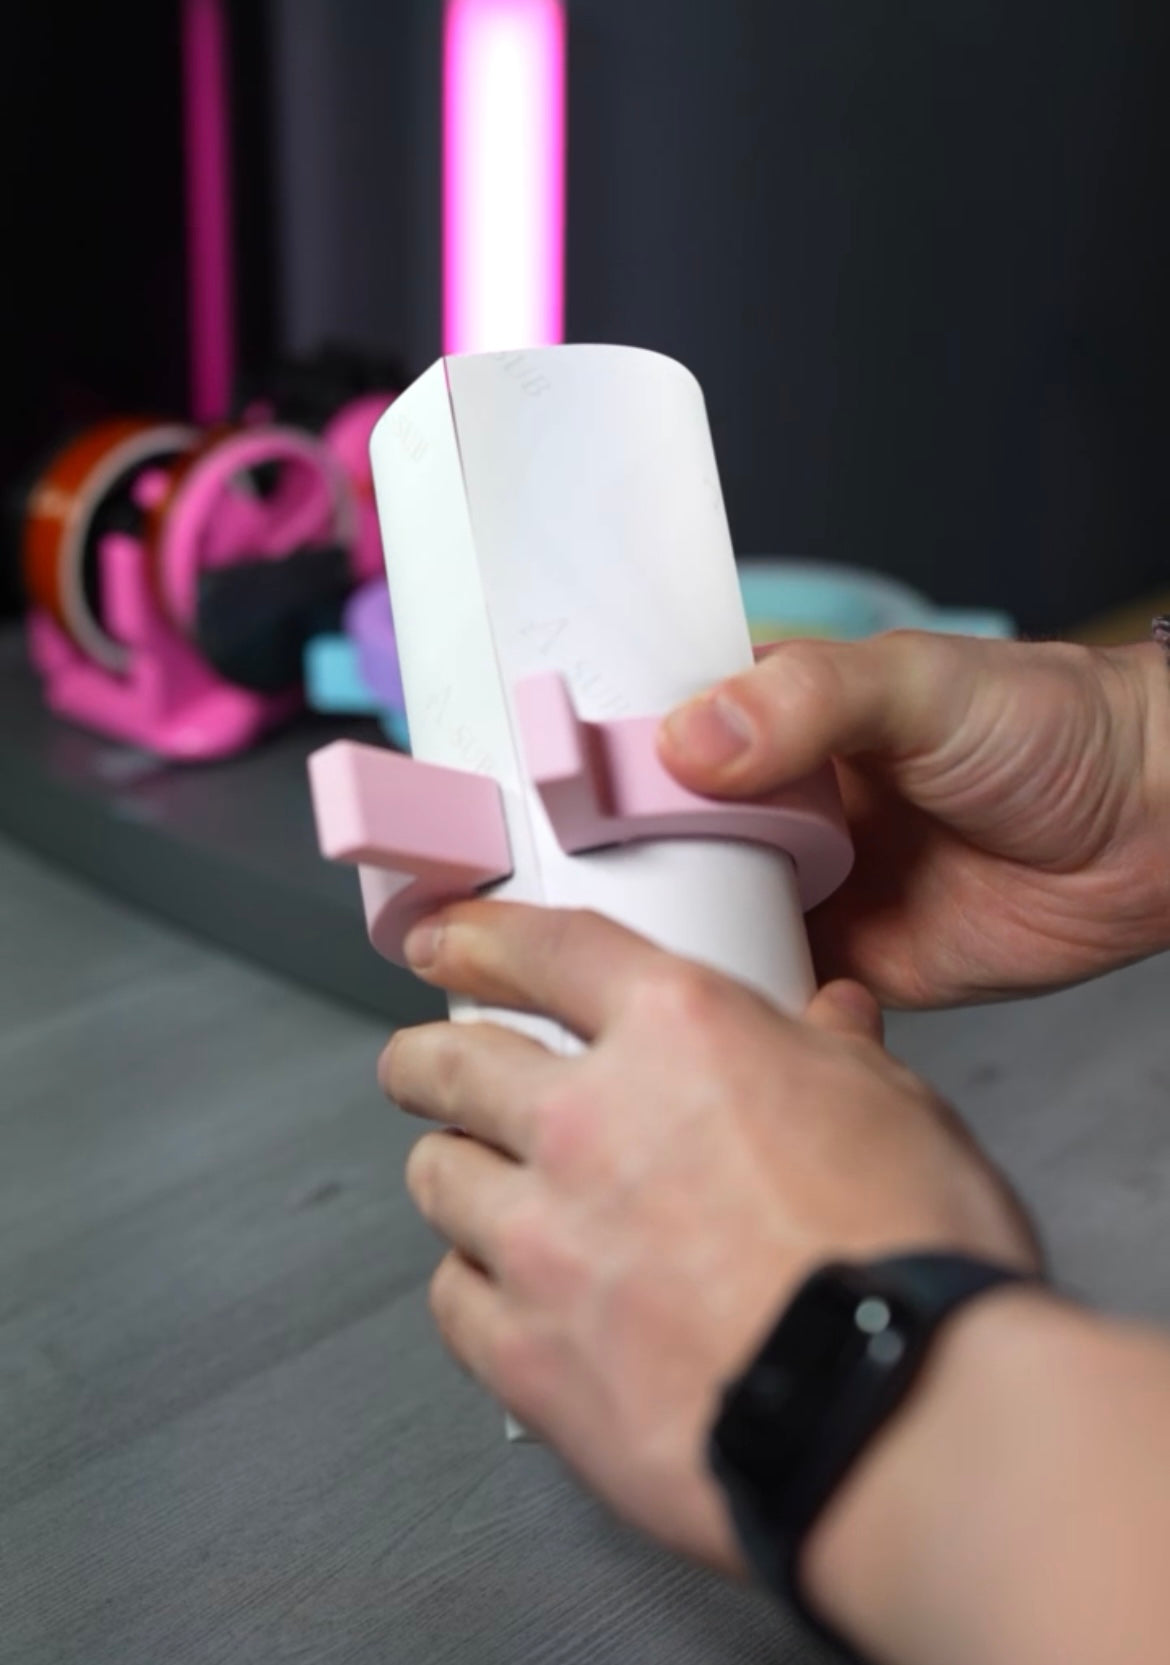


5. Using only the Pinch Perfect, wrap the image around the tumbler. Try not to use your fingers to pull the paper tighter. This can create loose pockets in the sublimation.
6. Check for tightness with your fingers and inspect the bottom of the tumbler for straight alignment.
Steps 7-8

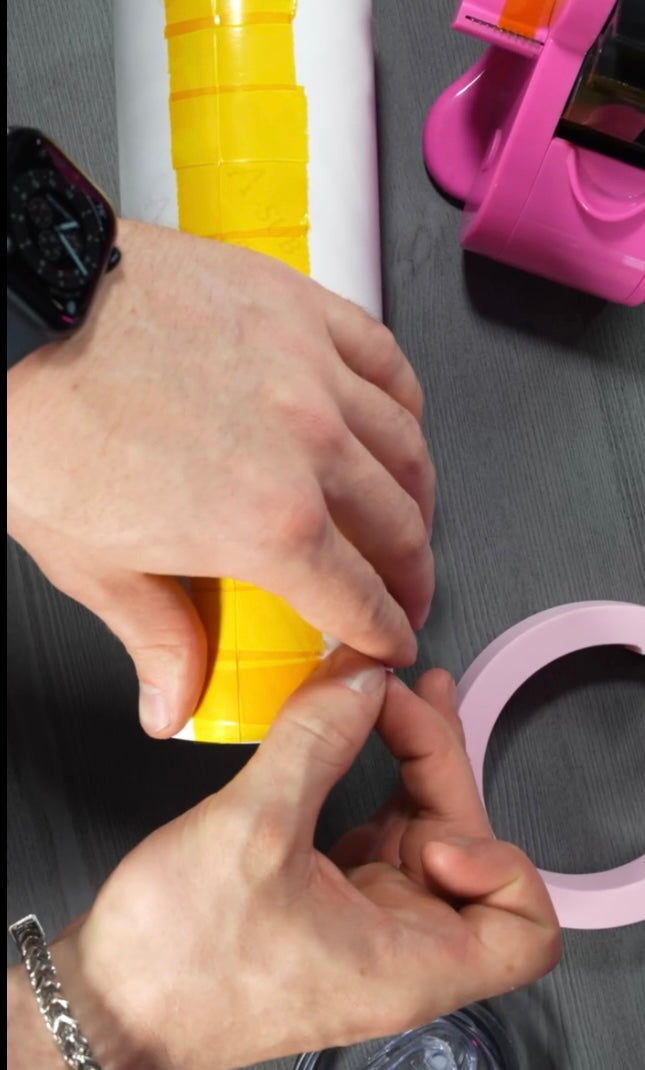

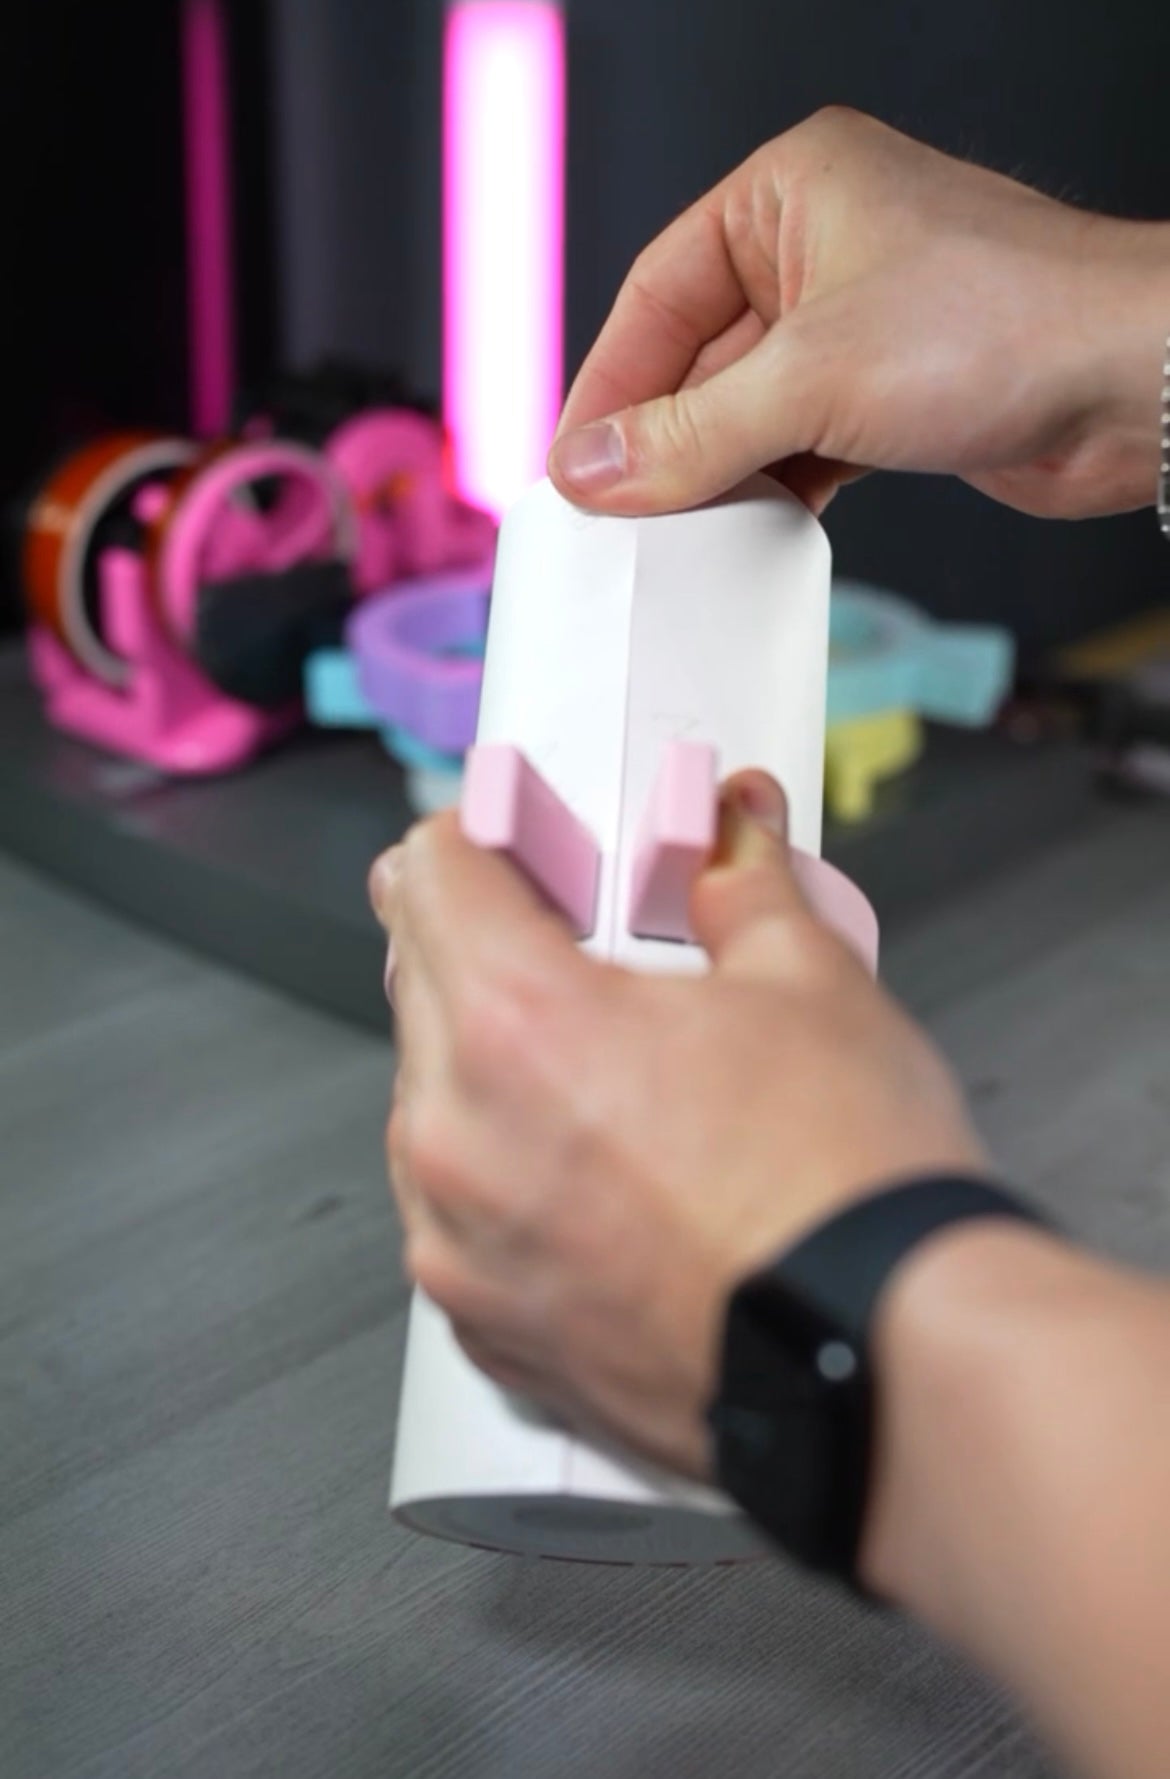
7. Tape the seam on both sides of the Pinch Perfect. Add a piece on one side of the Pinch Perfect as well as the other side. Move the tool up and down to apply another 2-3 pieces of tape.
8. Finally finish taping the seam line completely by hand if you choose to do so. This will make sure your design is completely secure preventing any chance of ghosting or messed up seam lines. Finish taping the top and bottom and you are ready to sublimate. :)


Noteworthy
Not all tumblers are the same
Not all tumblers despite being the exact same size are alike. Some tumblers may be concave or convex towards the middle. Use a countertop and flashlight and check for light passing through. If the tumbler is concave or convex it may result in the Pinch Perfect fitting looser or tighter in some areas producing inconsistent results.